
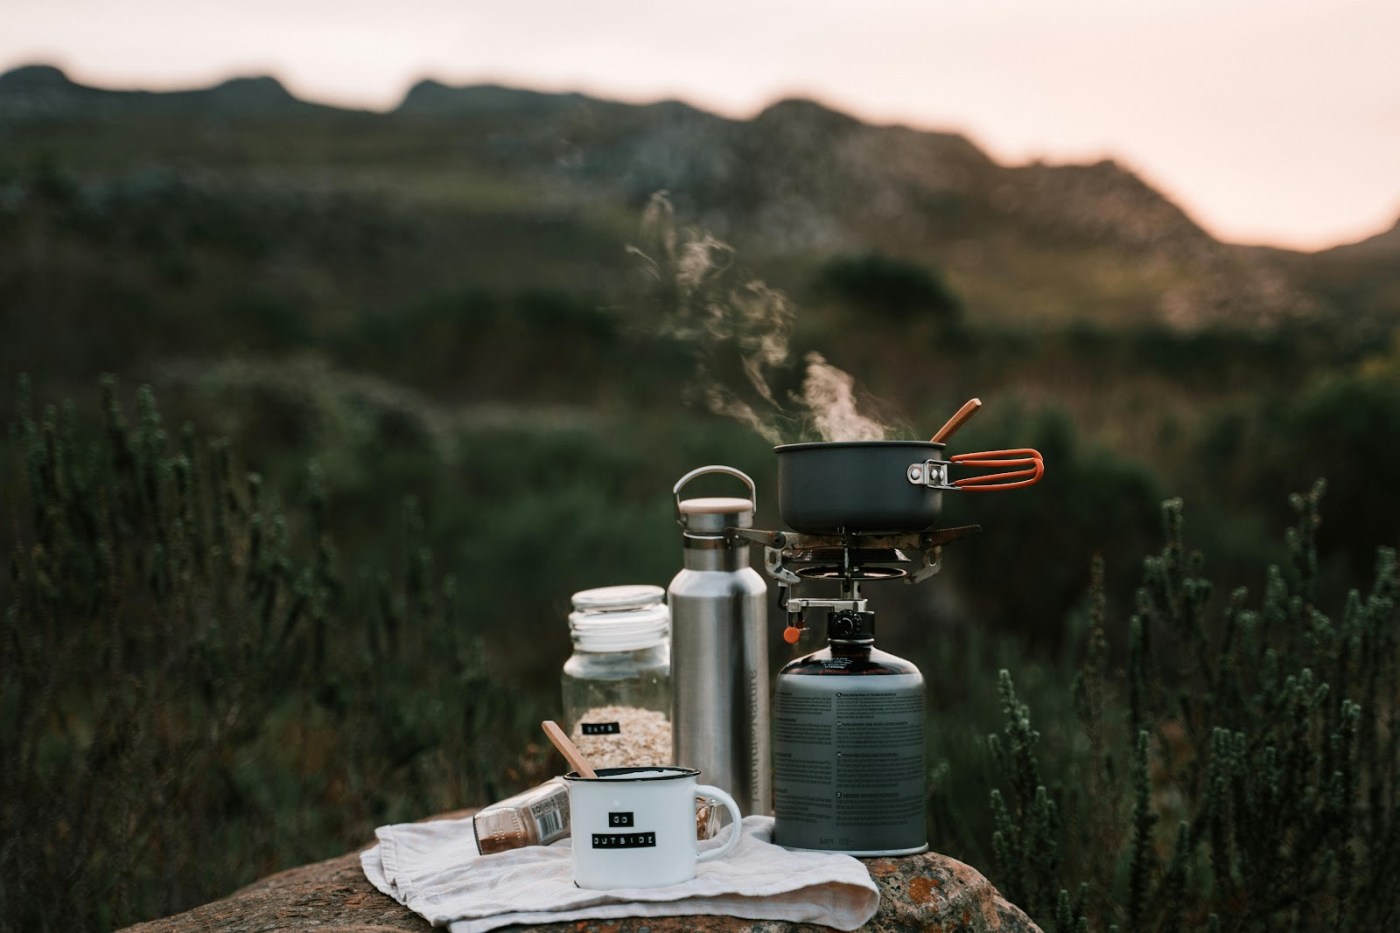
Embarking on a motorcycle camping trip brings the challenge of preparing meals that are not only easy to make and carry but also tasty and nutritious. With the limitations of cooking equipment and no refrigeration, creativity in meal planning becomes essential. Here’s a list of alternative meals, offering a welcome change from the usual freeze-dried fare. These meals can be pre-made at home, require minimal cooking, and are designed to be prepared with just a small hiking pot and stove.
1. Dehydrated Chili Recipe
This dehydrated chili recipe is perfect for motorcycle camping, offering the comfort of a hearty meal with the convenience of lightweight packing. It requires some preparation at home but rehydrates into a flavorful and satisfying dish at camp. This recipe serves 4, so adjust quantities as needed.
At Home Preparation:
Ingredients:
- 1 lb ground beef or turkey (for a vegetarian option, substitute with textured vegetable protein)
- 1 can (15 oz) kidney beans, rinsed and drained
- 1 can (15 oz) black beans, rinsed and drained
- 1 can (15 oz) diced tomatoes, do not drain
- 1 small onion, diced
- 2 cloves garlic, minced
- 2 tablespoons chili powder
- 1 teaspoon cumin
- 1 teaspoon salt
- ½ teaspoon black pepper
- 1 cup water or beef broth (use only if needed for cooking, not for dehydrating)
Cooking Instructions:
- Cook the Meat: In a large skillet, cook the ground beef or turkey over medium heat until fully cooked. Drain excess fat.
- Combine Ingredients: Add the kidney beans, black beans, diced tomatoes (with juice), onion, garlic, chili powder, cumin, salt, and pepper to the skillet with the meat. If using textured vegetable protein, rehydrate it according to package instructions and add it now.
- Simmer: Let the chili simmer on low heat for about 30 minutes, stirring occasionally. If the mixture seems too thick, add a bit of water or beef broth to reach your desired consistency.
- Cool: Remove the chili from the heat and let it cool completely.
- Dehydrate: Spread the chili evenly on dehydrator trays. Dehydrate at 63°C (145°F) for 8-10 hours or until completely dry. Stir occasionally to ensure even drying.
- Pack: Once dried, pack the chili into airtight bags. Vacuum sealing will extend its shelf life.
At Camp Cooking Instructions:
Ingredients:
- Dehydrated chili
- Water (approximately the same volume as the dehydrated chili)
Cooking Instructions:
- Rehydrate the Chili: In your small hiking pot, combine the dehydrated chili with an equal amount of water. Let it soak for about 5 minutes to start the rehydration process.
- Cook: Place the pot on your hiking stove and bring the mixture to a boil. Reduce the heat and simmer for about 10-15 minutes, stirring occasionally, until the chili is fully rehydrated and heated through.
- Serve: Once the chili is ready, let it stand for a few minutes to thicken up. Serve hot, with optional toppings like cheese or sour cream if you have them.
Enjoy a warm, comforting bowl of chili that feels like a gourmet meal in the wilderness. This recipe is not only tasty but also packed with protein and fiber, perfect for refueling after a day’s ride.
2. Couscous with Dried Fruit and Nuts Recipe
This couscous recipe is a fantastic choice for motorcycle camping due to its simplicity, nutritional content, and minimal cooking requirements. It’s a delightful mix of sweet, savory, and nutty flavors, providing a quick energy boost. This recipe serves 2 but can easily be adjusted.
At Home Preparation:
Ingredients:
- 1 cup couscous
- ½ cup mixed dried fruits (e.g., apricots, raisins, cranberries), chopped if large
- ¼ cup nuts (e.g., almonds, walnuts, pecans), roughly chopped
- 1 teaspoon cinnamon
- ½ teaspoon salt
- Optional for extra flavor: 1-2 teaspoons sugar or honey packets; spice mix packet (e.g., a pinch of nutmeg, ginger, and allspice)
Packing Instructions:
- Mix Dry Ingredients: In a bowl, combine the couscous, dried fruits, nuts, cinnamon, salt, and any additional spices or sugar. Mix well to ensure even distribution of ingredients.
- Pack: Transfer the mixture into airtight bags. If you’re bringing honey, pack the packets separately.
At Camp Cooking Instructions:
Ingredients:
- The pre-mixed couscous with dried fruits and nuts
- 1¼ cups water (or according to the couscous package instructions)
- Honey packets (if using)
Cooking Instructions:
- Boil Water: In your small hiking pot, bring 1¼ cups of water to a boil. If you’re at a high altitude, remember that water boils at a lower temperature, so you might need to adjust the cooking time slightly.
- Cook Couscous: Once the water is boiling, remove the pot from the heat. Stir in the couscous mixture, ensuring it’s fully submerged. Cover the pot with a lid or a piece of aluminum foil.
- Let It Sit: Allow the couscous to sit, covered, for about 5 minutes. Couscous needs to absorb the hot water to become fluffy.
- Fluff and Serve: After 5 minutes, fluff the couscous with a fork to separate the grains. If you have honey packets, drizzle them over the couscous for added sweetness.
Enjoy your flavorful couscous with dried fruits and nuts, a meal that’s as satisfying as it is easy to prepare. This dish not only offers a delightful taste but also delivers a balanced blend of carbohydrates, protein, and healthy fats, perfect for refueling during your adventures.
3. Instant Lentil Soup with Dehydrated Vegetables Recipe
Lentil soup is a comforting, nutritious option for motorcycle camping, providing essential proteins and a warm, satisfying meal. This instant version utilizes dehydrated lentils and vegetables for a lightweight, easy-to-prepare option. Here’s how to make and enjoy it during your outdoor adventures. This recipe serves 2.
At Home Preparation:
Ingredients:
- 1 cup dehydrated lentils (choose quick-cooking or pre-cooked, dehydrated lentils for faster preparation)
- ½ cup dehydrated mixed vegetables (e.g., carrots, tomatoes, onions, spinach)
- 1 vegetable bouillon cube or 1 teaspoon vegetable bouillon powder
- 1 teaspoon garlic powder
- 1 teaspoon onion powder
- ½ teaspoon dried thyme
- ½ teaspoon dried rosemary
- Salt and pepper to taste
- Optional: a pinch of chili flakes for some heat
Packing Instructions:
- Combine Ingredients: In a large bowl, mix together the dehydrated lentils, dehydrated vegetables, vegetable bouillon, garlic powder, onion powder, thyme, rosemary, salt, pepper, and chili flakes if using.
- Pack: Transfer the mixture into an airtight bag or container. Make sure it’s sealed well to keep moisture out.
At Camp Cooking Instructions:
Ingredients:
- The pre-mixed lentil soup mixture
- Approximately 4 cups of water (adjust based on desired soup thickness)
Cooking Instructions:
- Rehydrate the Soup: In your small hiking pot, combine the lentil soup mixture with about 4 cups of water. The amount of water can be adjusted depending on how thick or thin you like your soup.
- Bring to a Boil: Place the pot on your hiking stove and bring the mixture to a boil. Stir occasionally to prevent sticking and ensure even rehydration of the lentils and vegetables.
- Simmer: Once boiling, reduce the heat to a simmer. Let the soup cook for about 10-15 minutes, or until the lentils and vegetables are fully rehydrated and tender. Keep in mind that cooking times may vary based on the altitude and the specific type of dehydrated lentils used.
- Adjust Seasonings: Taste the soup and adjust the seasonings as necessary. If you have extra spices or a small packet of olive oil, you can add them now for enhanced flavor.
- Serve: Once the lentils and vegetables are tender and the flavors melded, remove the pot from the heat. Let the soup stand for a couple of minutes to cool slightly, then serve.
Enjoy your warming bowl of instant lentil soup with dehydrated vegetables, a meal that promises to warm you up and refuel you after a day of riding and exploring. This soup is not only delicious but also packed with nutrients, making it a perfect choice for the adventurous motorcycle camper.
4. Tuna Pasta Salad Recipe
This Tuna Pasta Salad is a fantastic, no-cook meal for motorcycle camping, offering a refreshing break from hot dishes while providing essential nutrients. It’s lightweight, easy to prepare, and doesn’t require refrigeration. This recipe serves 2.
At Home Preparation:
Ingredients for the Pasta Salad:
- 2 cups pre-cooked and dehydrated pasta (choose small shapes like fusilli, penne, or macaroni for easier packing and rehydration)
- 1 packet of tuna in oil or water (vacuum-sealed packets are lighter and more compact than cans)
- ¼ cup dehydrated vegetables (e.g., peas, corn, bell peppers)
- 2 tablespoons dried cranberries or raisins for a sweet touch (optional)
- Salt and pepper to taste
Ingredients for the Dressing (Mix these at home and carry in a small bottle):
- 3 tablespoons olive oil
- 1 tablespoon vinegar (white wine or apple cider)
- 1 teaspoon mustard
- 1 teaspoon honey or sugar
- Salt and pepper to taste
Packing Instructions:
- Prepare the Dressing: Mix the olive oil, vinegar, mustard, honey (or sugar), salt, and pepper in a small, leak-proof bottle. Shake well to combine.
- Pack the Ingredients: Pack the dehydrated pasta, dehydrated vegetables, and the packet of tuna separately. Ensure everything is sealed well to prevent moisture from getting in.
At Camp Cooking Instructions:
Ingredients:
- The pre-packed ingredients
- Water for rehydrating pasta and vegetables
Cooking Instructions:
- Rehydrate the Pasta and Vegetables: In your small hiking pot, boil enough water to cover the pasta and dehydrated vegetables. Add the pasta and vegetables to the boiling water, remove from heat, and let sit covered for about 5-10 minutes, or until they are fully rehydrated. The exact time will depend on the type of pasta and the size of the vegetables.
- Drain and Cool: Once rehydrated, drain any excess water using a sieve or by carefully tilting the lid of the pot to keep the contents from spilling. If available, rinse quickly with cold water to cool the pasta and vegetables faster and stop the cooking process.
- Mix the Salad: Transfer the cooled pasta and vegetables to a bowl (or leave in the pot if you prefer). Add the tuna (drained if necessary) and dried cranberries or raisins if using. Pour the dressing over the salad and mix well to combine everything.
- Season: Taste the salad and adjust the seasoning with more salt and pepper if needed.
- Serve: Once mixed, the Tuna Pasta Salad is ready to serve. Enjoy a refreshing and satisfying meal that’s perfect for refueling after a long day’s ride.
This Tuna Pasta Salad is not only easy to prepare but also versatile. Feel free to add or substitute ingredients based on your preferences or what you have available. The key is to keep it simple, nutritious, and enjoyable, making your motorcycle camping meals something to look forward to.
5. Ramen Noodle Upgrade Recipe
Transforming a simple pack of ramen noodles into a gourmet meal is an art, especially when camping. This Ramen Noodle Upgrade recipe adds nutrition, flavor, and texture to your standard pack, turning it into a satisfying meal that’s perfect for motorcycle camping. The recipe serves 1 but can easily be adjusted for more servings.
At Home Preparation:
Ingredients:
- 1 pack of instant ramen noodles (discard the seasoning packet or keep it for extra flavor)
- ¼ cup dehydrated vegetables (such as carrots, mushrooms, spinach, and green onions)
- 1 tablespoon freeze-dried tofu or pre-cooked and dehydrated chicken pieces (optional for added protein)
- 1 teaspoon miso paste or 1 cube of bouillon (vegetable or chicken, depending on your preference) for a richer broth
- 1 small packet of soy sauce
- 1 small packet of sesame oil (optional)
- Spices as desired (e.g., garlic powder, ginger powder, chili flakes)
Packing Instructions:
- Pre-Mix Vegetables and Proteins: Combine the dehydrated vegetables and freeze-dried tofu or chicken in a small, zip-top bag. This mix will be added to the noodles during cooking.
- Pack the Flavorings: Place the miso paste, soy sauce packet, sesame oil packet, and any dry spices you’re bringing into another small bag or container.
At Camp Cooking Instructions:
Ingredients:
- The pre-packed ramen and additions
- Water (amount as per ramen packet instructions, usually around 2 cups)
Cooking Instructions:
- Boil Water: In your small hiking pot, bring the water to a boil. The amount of water should be adjusted if you’re adding extra ingredients, as they will absorb some liquid.
- Add Ramen and Ingredients: Once the water is boiling, add the ramen noodles, dehydrated vegetable and protein mix, and any dry spices you’ve brought. If you’re using the original seasoning packet, you can add it now as well.
- Cook: Let the ramen cook for about 3 minutes, or according to the noodle packet’s instructions. Stir occasionally to ensure the noodles cook evenly and the dehydrated ingredients rehydrate properly.
- Enrich the Broth: A minute before the noodles are done, stir in the miso paste (if using) or dissolve the bouillon cube to enrich the broth. Avoid boiling the soup after adding miso to preserve its flavor and nutritional value.
- Final Touches: Once the noodles and additions are cooked, turn off the heat. Stir in the soy sauce and a drizzle of sesame oil for added depth and richness.
- Serve: Transfer your upgraded ramen into a bowl or enjoy it straight from the pot. Enjoy a warm, comforting, and nutritious meal that goes beyond the basic ramen, perfect for replenishing your energy after a day of adventure.
This Ramen Noodle Upgrade is a versatile recipe that can be tailored to your taste preferences and the ingredients you have on hand. It’s proof that even on a motorcycle camping trip, you can enjoy a delicious and hearty meal with minimal effort and equipment.

Leave a comment